Written By: Emily Pair
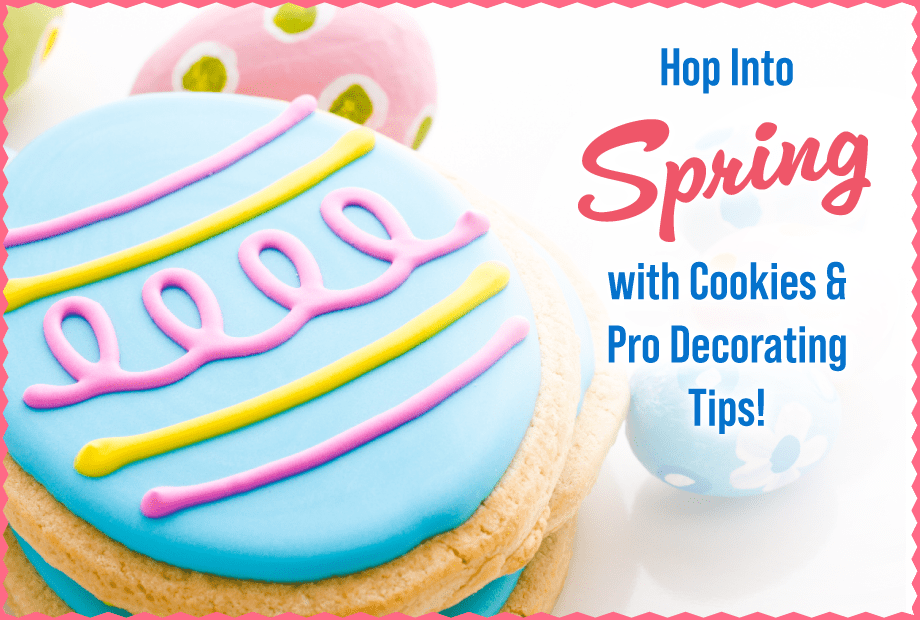
Easter is the perfect time to gather with family, celebrate the season, and of course, enjoy some delicious treats! Whether you’re planning a festive get-together or just want to add a little springtime cheer to your dessert table, decorating Easter cookies is a fun and creative activity for all ages. The best part? We’ve done the hard part for you! You can order our Cookie Dough or our freshly baked Cookie Assortments and decorate them yourself!
Step 1: Place Your Cookie Order
Skip the hassle of baking and get straight to the fun part—decorating! Our baked-to-order Cookie Assortments and Cookie Dough contain a variety of flavors, including:
- Sugar – A classic canvas for decorating.
- Cherry Ice Box – A traditional favorite with subtle cherry kick.
- Chocolate Chip – Perfect for those who love a little extra chocolatey goodness.
- White Chocolate Chip – A rich and creamy delight.
- Cinnamon Sugar - A soft, buttery treat dusted with a perfect balance of cinnamon and sugar.
Simply place your order, and we’ll bake your cookies fresh — or ship the cookie dough straight to your door so you can bake them at home!

Step 2: Receive Your Cookies & Gather Your Supplies
Once your cookies arrive, it’s time to set up your decorating station. Here’s what you’ll need:
- Your favorite cookies (either pre baked or dough)
- Royal Icing (recipe below)
- Piping bags or squeeze bottles
- Toothpicks or a scribe tool (for fine details)
- Gel food coloring
- Sprinkles, sanding sugar, and edible decorations
Step 3: Make Your Royal Icing

To create beautifully decorated Easter cookies, royal icing is the best choice. It allows for detailed designs, smooth finishes, and endless creativity. Here’s a simple recipe:
Classic Royal Icing
Decorates: ~2 dozen cookies | Prep Time: 10-15 minutes
Ingredients:
- ¼ cup meringue powder or powdered egg whites
- ½ cup lukewarm water
- 4 cups (1 lb) confectioner’s sugar
- 1 tsp flavored extract of your choice (optional)
- Gel food coloring (optional)
Directions:
- In a large mixing bowl, combine confectioner’s sugar and meringue powder. Stir to mix evenly.
- Using a handheld or stand mixer fitted with a whisk attachment, gradually mix in the water and extract, beating on medium-low speed. The icing should reach the consistency of soft cream cheese after about 4-5 minutes.
- If you’d like to add color, divide the icing into separate bowls and mix in a few drops of gel food coloring. Start with a small amount and add more as needed.
- Create two consistencies: one for piping (firm) and one for flooding (thin). To thin the icing for flooding, add ½ teaspoon of water at a time, stirring until it reaches a thick honey-like consistency.
Pro Baker’s Tip: Make lighter icing colors first before darkening them. This way, you can create multiple shades from one batch without making too much!
Step 4: Decorate Like a Pro!

Now comes the fun part—bringing your Easter cookies to life! Here’s how to achieve bakery-quality designs:
Prepare Your Cookie Shape (optional)
- If you're using our Cookie Dough, simply bake and let the cookies cool completely. Then, use a cookie cutter to create your favorite shapes.
- If you are using our pre-baked Cookie Assortments. Skip the cooling step above and use a cookie cutter to create your desired shape.
Cookie Cutter Ideas: Perfect for Easter — think flowers, bunnies, eggs, and more!
Basic Outline & Flooding
- Using your piping icing, outline the shape of your cookie. Let it dry for a few minutes to create a barrier.
- Fill in the outlined area with flood icing. Use a toothpick or scribe tool to spread the icing evenly and pop any air bubbles.
- Let the cookies dry for several hours before adding additional layers or details.
Add Fun Details
- Polka Dots & Swirls: While the flood icing is still wet, add dots or lines of a contrasting color and swirl with a toothpick for a marbled effect.
- Easter-Themed Designs: Use pastel colors to create eggs, bunnies, flowers, or chick designs.
- Sprinkles & Embellishments: Before the icing sets, add decorative sugar, sprinkles, or edible glitter for extra charm.
Step 5: Let Them Dry & Enjoy!
Once your cookies are decorated, allow them to dry completely before stacking or packaging them. Then, serve them at your Easter gathering or give them as sweet gifts to friends and family!
Decorating Easter cookies is a fun and festive tradition that anyone can enjoy. Whether you’re a seasoned baker or a beginner, our ready-to-decorate cookies and simple royal icing recipe make it easy to create beautiful and delicious treats. Order your cookies today and get ready to celebrate Easter in the sweetest way possible!


Leave a comment
This site is protected by hCaptcha and the hCaptcha Privacy Policy and Terms of Service apply.